
It’s the same every year. I promise myself that I will be organised for Christmas and every year, despite my best intentions, Christmas sneaks up on me and catches me out. I spend whole days fighting my way through the heaving shops, sweaty and grumpy; thinking murderous thoughts about my fellow shoppers.
Not very attractive. Or Christmasy. No more.
THIS year I am going to be organised. I am going to handcraft delightful gifts for friends and family, save money AND do my bit for the environment at the same time. A tall order? Maybe. But I’m going to give it my best shot. Or die trying.
I thought a good way to keep this Christmas mission on track would be to include a Christmas-related idea here, perhaps once a week or so. It will keep me motivated and we can all get our “jolly holly” groove on together. And so, the countdown begins…
12 weeks until Christmas – Pillow Boxes.
It’s a universally known fact that a gift is only as good as its wrapping. (O.K, this may just be my opinion.)
I found this lovely idea on Pinterest recently and since it’s really easy and justifies my impulsive loo roll collecting, I thought I’d share it.
Step 1:
Take a loo roll inner.
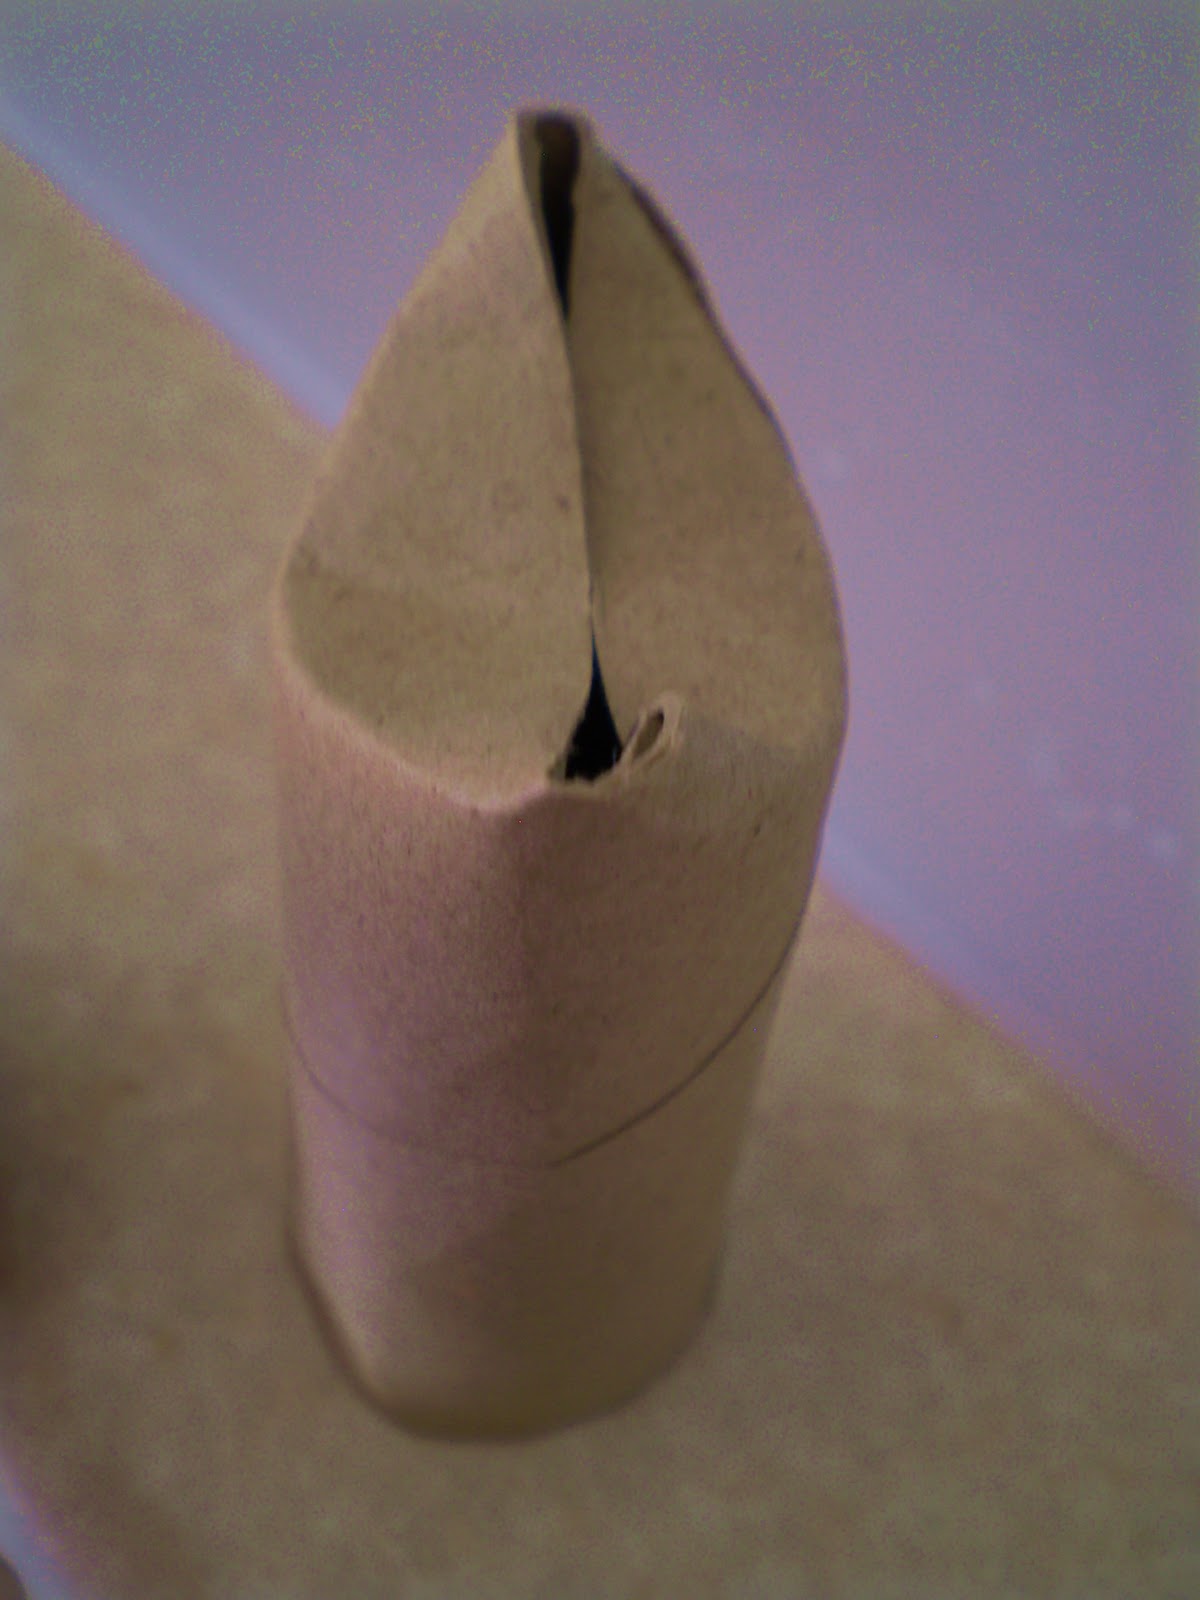
Step 2:
Bend the middle bit in and then do the same to the other side.

Step 3:
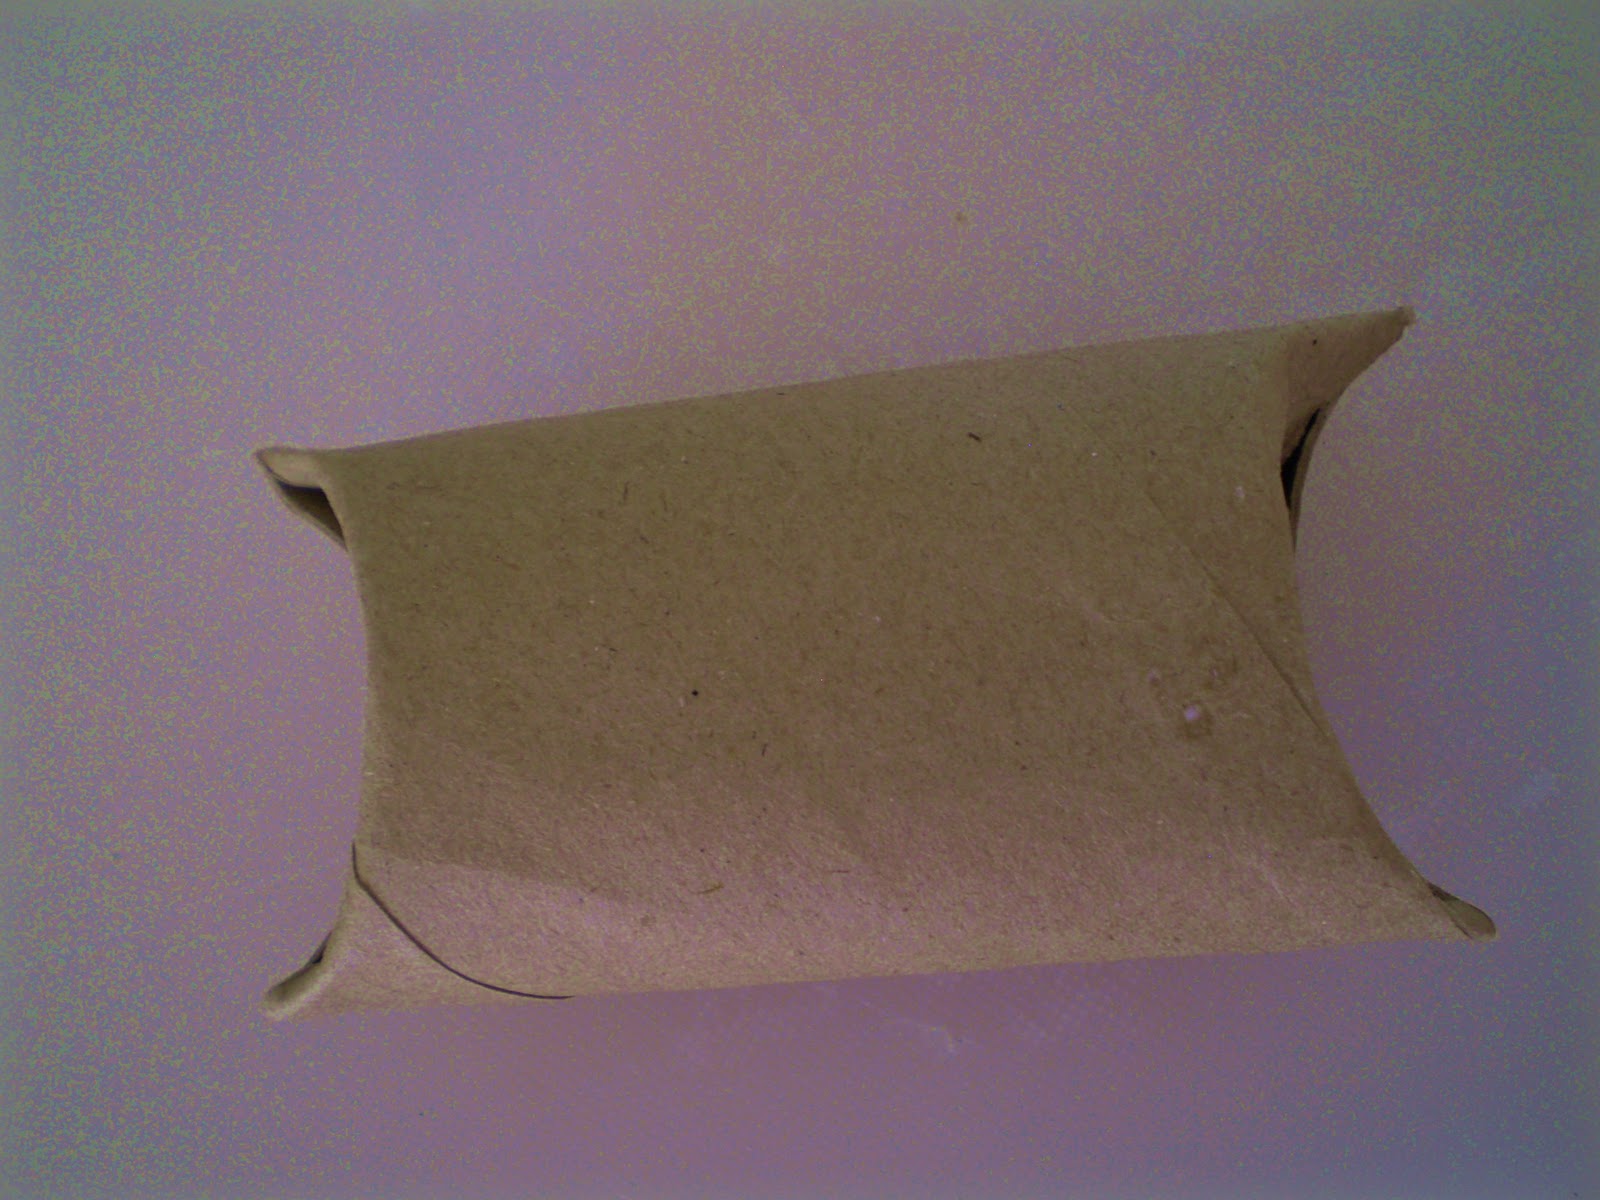
Pinch the sticky-up bits at the side.

And voila! A cute little pillow box!


You can use this to wrap any smallish gift – sweets, chocolates, a necklace or bracelet. Whatever you can squeeze inside. Wrap with raffia, ribbon or string and add a cute embellishment.

You can use this to wrap any smallish gift – sweets, chocolates, a necklace or bracelet. Whatever you can squeeze inside. Wrap with raffia, ribbon or string and add a cute embellishment.

You can also use left-over bits of wrapping paper and make colourful pillow boxes as well. Here's how....
Step1:
Cut the paper to size, leaving a little “fold over” room at the sides.


Step2:
Mix some glue with a little water. The consistency should not be too watery, but should thin out the glue a little. Apply with a brush or a sponge to the “wrong” side of the paper.
 Step 3:

Place the toilet roll inner at one end of the paper and roll to the end.

Fold over the bits at the side to the inside of the tube.

If you like, you can apply a layer of the glue mix to the outside of the paper as well.
Step 6:
Fold the sides of the tube, as shown previously.


Give it a try. A nice project for the kids too.
We'd love to hear from you and all the ways you use this neat idea. Email us at les.revoici@gmail.com
We'd love to hear from you and all the ways you use this neat idea. Email us at les.revoici@gmail.com
No comments:
Post a Comment